
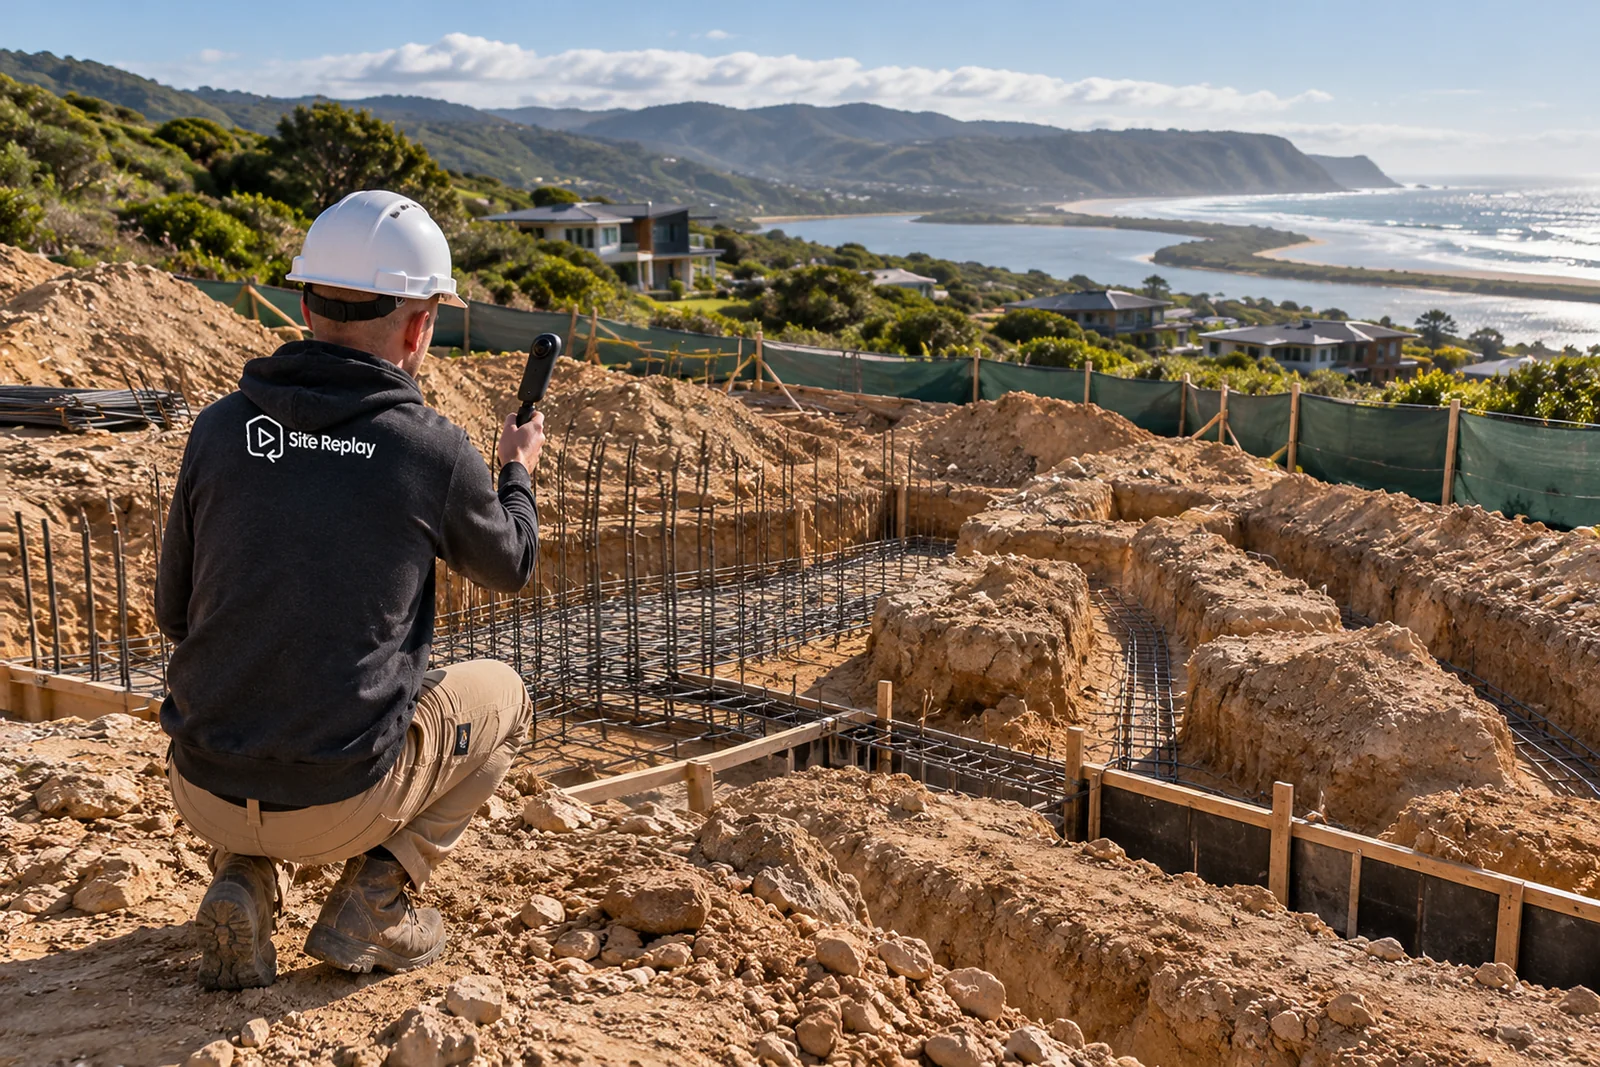
Record the work
before the next layer.
From the original site to the finished home and later changes. Explore 84 construction milestones, what to record at each one and when to arrange the visit.
Start with what will be hidden next.
The most useful recording window is often just before another layer goes on: concrete, backfill, plaster, a ceiling, waterproofing protection or tiles. Ask your builder which areas will still be visible on the day.
Use the guide to choose relevant moments. One visit may cover several stages; work happening on different days may need separate visits.
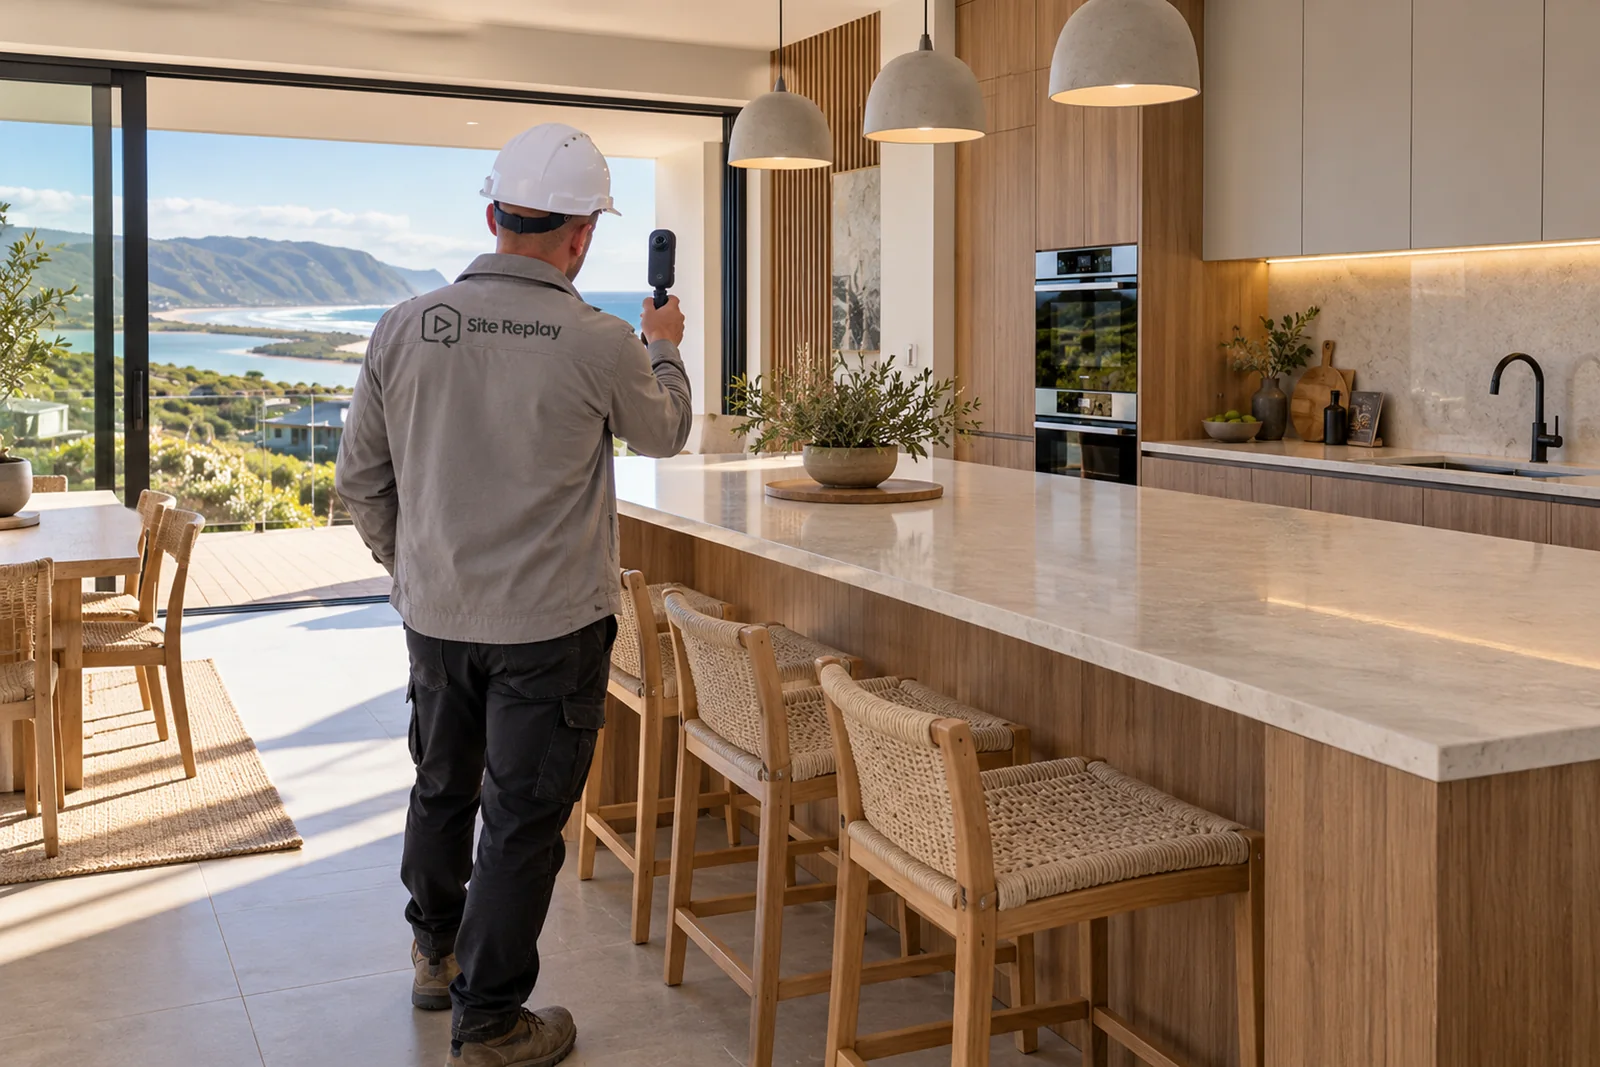
Site Replay records visible work along a safe, agreed route. Your builder and appointed professionals handle design decisions, inspections, testing and sign-off. Keep their measured drawings and records alongside the video.
Start with foundations before a pour, services before enclosure or waterproofing before covering.
From the first site record
to the finished home.
84 milestones across 14 phases. Find the work happening next, then open a stage for what to record and the information to keep alongside it.
These are recording opportunities, not 84 required visits. Stages overlap, some repeat on each level and others will not apply to your home. Agree the actual sequence with your builder.
1. Before work begins
Establish what the site looked like and what the team intends to build. Some of this phase is paperwork; the useful camera record is the visible starting condition.
Back to all stages01The original site and surroundings
Before clearing, deliveries or excavation.
Record the plot, existing buildings, visible ground levels, established trees and access from agreed viewpoints. Include the immediate surroundings where permission allows, so later changes have a clear starting reference.
Keep alongside your recording: The dated site survey, existing-condition photographs and agreed recording boundary.
02Existing rooms before an alteration
Before stripping out finishes or opening walls.
For an alteration or extension, record the rooms, junctions with the existing house and visible finishes. A repeat view later can show how the original space and the new work connect.
Keep alongside your recording: Existing drawings and any condition report arranged by the owner.
03Ground investigation and survey information
While agreed investigation locations remain identifiable.
Visible investigation positions and survey markers can add context to the initial record. A camera cannot establish soil bearing capacity, locate every buried service or replace a geotechnical investigation.
Keep alongside your recording: The geotechnical report, survey and underground-service information supplied by the professionals.
04Design, selections and the agreed scope
Before the construction programme is finalised.
Agree the spaces and milestones that matter to you: concealed services, changes to the structure or a finish you want documented. Link the recording plan to the current drawings rather than an outdated design.
Keep alongside your recording: Current drawing revisions, specifications, selections and the agreed scope of work.
05Permissions, access and the recording plan
Before the first site visit.
Identify who authorises access, who coordinates the trades and how short-notice changes will be communicated. Agree useful viewpoints and any areas or people that should stay outside the recording.
Keep alongside your recording: The site contact, access arrangements and the team’s applicable approvals and inspection programme.
2. Site setup and earthworks
The ground can change quickly. Keep the starting condition, the formation of the building platform and the setting-out work as distinct moments where they matter.
Back to all stages06Site establishment and temporary access
Once the site is set up, before major work changes it.
Show the entrance, delivery route, temporary fencing, storage and the agreed walking route. This provides context for later recordings without making the camera visit part of site-safety management.
Keep alongside your recording: The site layout and the responsible person’s access instructions.
07Clearing, stripping and demolition
Before and after the agreed removal work.
Capture the change from the existing site to cleared ground, or from the original rooms to a stripped interior. Keep retained features in view. Demolition zones must be released for safe access before recording.
Keep alongside your recording: The demolition or removal scope and any specialist reports the team requires.
08Building set-out and level references
While pegs, profiles and reference marks remain visible.
Record the proposed footprint, profiles and identifiable level references in relation to the site. These views help explain the layout later, but the surveyor or responsible professional confirms positions and levels.
Keep alongside your recording: The setting-out information and the relevant drawing revision.
09Bulk excavation, cut and fill
As the platform forms, before later work hides the ground.
Record the extent of excavations, changes to the ground and the developing platform from safe viewpoints. Large changes may justify more than one visit, especially where different parts of the house sit at different levels.
Keep alongside your recording: Earthworks drawings, survey levels and the contractor’s work records.
10Prepared platform and temporary water management
Before foundations start on the prepared area.
Show the ready platform and visible routes used to manage water around the work. The appearance of fill does not establish compaction or suitability; those results belong with the responsible team’s records.
Keep alongside your recording: Compaction results, formation approvals and the current drainage arrangements, where applicable.
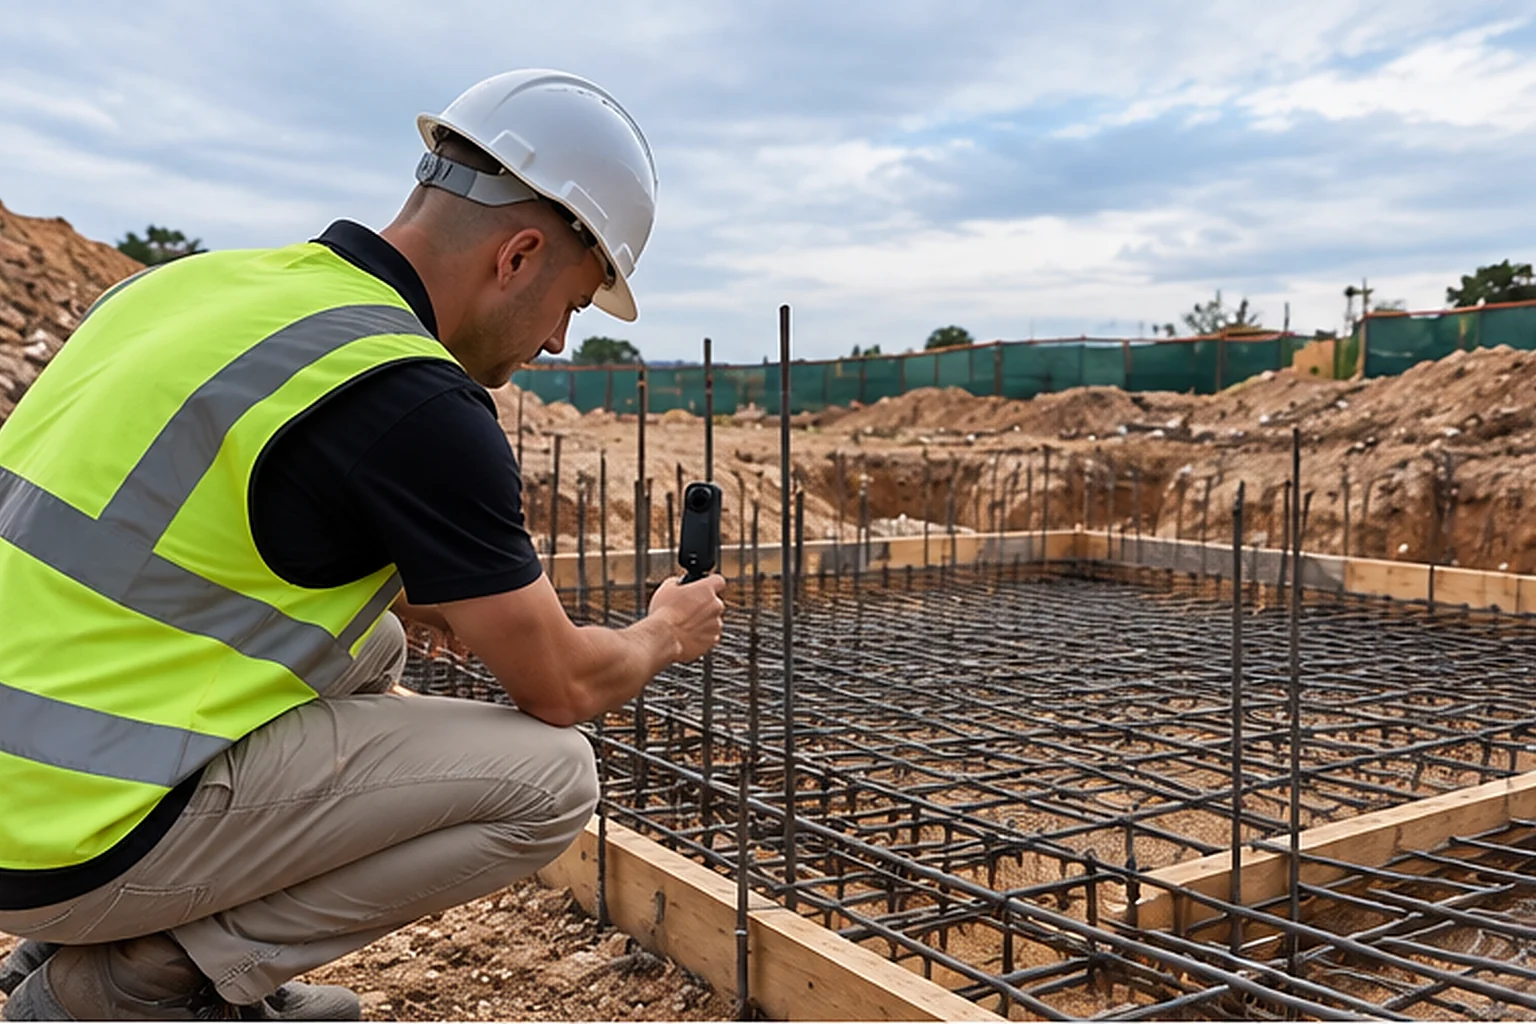
3. Foundations and work below ground
Excavation, preparation, reinforcement and completed concrete are separate opportunities. The foundation type and the timing depend on the home’s design and ground conditions.
Back to all stages11Foundation trenches, pads and exposed founding areas
After excavation, before the base is covered.
Record the visible excavation layout, changes in depth and junctions between foundation areas from the permitted route. Include enough surrounding context to recognise each location later; do not enter an excavation for a better angle.
Keep alongside your recording: The foundation design and the professional’s founding inspection record.
12Piles, ground beams or other specialist foundations
At the specialist stages agreed for that foundation system.
Where the design uses piles or another specialist system, record accessible positions and visible connecting work. Much of a pile is never visible to a walk-through camera, so installation records remain especially important.
Keep alongside your recording: Specialist layouts, installation logs and the engineer’s records.
13Blinding, formwork and foundation preparation
Before reinforcement or concrete obscures the preparation.
Capture the visible prepared base, formwork and interfaces with adjacent work. Different foundation systems expose different layers; ask the builder which of those layers will disappear next.
Keep alongside your recording: The relevant detail drawings and any recorded changes to the foundation arrangement.
14Foundation reinforcement and cast-in items
When visible steel and cast-in items are ready, before the pour.
Record the reinforcing arrangement, starter bars and visible sleeves or cast-in positions with their location in the house. The record supports later discussion; it does not verify steel size, cover, strength or compliance.
Keep alongside your recording: Reinforcement drawings, the required inspection record and concrete documentation.
15Completed footings, foundation walls and plinth
After the team permits access, before backfilling.
Show the completed foundation work, wall layout and changes in level. Photographing only the finished slab later would miss this relationship between the below-ground work and the house above it.
Keep alongside your recording: Foundation and masonry records, including any instructed design changes.
16Basements, retaining faces and below-ground waterproofing
Where included, before protection layers and backfill.
Record accessible retaining faces, joints, visible waterproofing and drainage components serving the home. Agree the route before work is covered; separate site-wide retaining works need a scope discussion.
Keep alongside your recording: The retaining design, waterproofing system information and specialist inspection records.
4. The ground-floor build-up
The completed floor conceals a sequence of layers and service routes. A pre-pour visit can be useful, but it may not show layers already covered by earlier work.
Back to all stages17Below-slab drainage and service sleeves
Before trenches or the floor build-up cover the routes.
Record visible drain runs, junctions, sleeves and service entry points beneath the future floor. Include room or grid references. The video is a location reference, not a reliable substitute for measured as-built information.
Keep alongside your recording: Drainage layouts, trade test records and measured service-route information.
18Fill, compaction and bedding layers
While each relevant layer is still exposed.
Capture the prepared fill and bedding across the footprint, including areas around service trenches. A later image of the top surface cannot show every earlier layer or prove that compaction was achieved.
Keep alongside your recording: Compaction reports and the team’s records of the materials and layers used.
19Ground treatment, where specified
At the point agreed with the responsible specialist.
Where the design or project specification calls for treatment, the record can show the accessible area and its place in the programme. A video cannot identify an invisible treatment, its concentration or its effectiveness.
Keep alongside your recording: The specialist’s treatment record and product information, where applicable.
20Damp-proof membranes, courses and floor insulation
Before the next layer conceals them.
Record visible membrane edges, junctions, penetrations and insulation in relation to the footprint. A damp-proof course in walling and a membrane below the floor may be installed at different times.
Keep alongside your recording: The floor and wall details, specified products and relevant inspection records.
21Ground-floor reinforcement, edges and embedded work
At the agreed pre-pour stage.
Show the visible reinforcement, edge forms, openings and embedded components. If underfloor heating is within this build-up, coordinate with that installer before it is covered. Keep the recording separate from the pour authorisation.
Keep alongside your recording: The slab design, cast-in layouts and any pre-pour or service-test records.
22The completed ground-floor slab
Once access is permitted after the pour.
Record the floor footprint, visible joints, openings and service positions as the base for the rooms above. Use repeat viewpoints to relate this stage to the earlier preparation and later wall layout.
Keep alongside your recording: Concrete delivery and test records, surveys and the team’s slab inspection notes.
5. Walls and the structural frame
Masonry, reinforced concrete, timber and steel systems expose different details. Use the stages that belong to your design; several may happen together or repeat across levels.
Back to all stages23First wall courses and room layout
As the room layout becomes recognisable.
Record the first wall courses, room divisions, door openings and their relationship to the slab. This is a useful point to connect room names with the locations used in later recordings.
Keep alongside your recording: The current floor plan and recorded layout changes.
24Masonry lifts, cavities and wall ties
While the relevant wall work remains open.
Capture accessible masonry, cavities and visible ties as walling progresses. External and internal faces may be built at different times. A finished wall surface will not show what was inside a cavity.
Keep alongside your recording: Wall details, specifications and the responsible team’s inspection records.
25Columns, beams and structural connections
Before concrete or finishes hide the visible arrangement.
Record accessible reinforcement, formwork and connection positions within the structure. Keep the overall room context as well as closer views that can be captured safely from the agreed route.
Keep alongside your recording: Structural drawings, connection details and required professional sign-offs.
26Lintels, openings and supports
Before plaster, cladding or joinery covers the junctions.
Show the visible work over and around windows and doors, including supporting walls and adjacent structure. The record can help locate a detail later; the design team determines whether the support is suitable.
Keep alongside your recording: Opening schedules, lintel details and any approved changes.
27Timber or light-steel wall framing
Before sheathing or internal linings conceal the frame.
Where used, record studs, bracing, openings and visible connections within the room layout. If sheathing goes on in stages, discuss which face and which connections will still be visible at the planned visit.
Keep alongside your recording: The framing supplier’s drawings and the required erection or inspection records.
28Wall insulation, membranes and cavity barriers
Before the cavity or framed wall is closed.
Capture accessible insulation, membranes and specified cavity or fire barriers. Different assemblies have different requirements; record what is visible without treating an image as evidence of a system’s thermal or fire performance.
Keep alongside your recording: The specified wall assembly, product information and specialist records.
29Chimneys, fireplaces, ducts and structural alterations
Before shafts or adjoining finishes close them in.
Record visible shafts, openings and the connections between new and retained work. Include fireplace or chimney construction where it forms part of the home. Existing-building alterations may need their own before-and-after sequence.
Keep alongside your recording: The relevant design details, alteration instructions and specialist installation records.
6. Upper floors, balconies and stairs
A second level adds another set of concealed layers. These milestones apply where the home has an upper floor, suspended construction or a raised deck in its agreed scope.
Back to all stages30Suspended-floor supports and preparation
Before the structural floor is closed or cast.
Record the accessible formwork, beams, joists, precast elements or decking used by the chosen system. Access must be authorised by the site team; temporary supports are not a camera platform.
Keep alongside your recording: The floor-system design, supplier information and installation records.
31Upper-floor reinforcement, openings and cast-ins
Before the pour or the next concealed layer.
Show visible reinforcing, stair openings, service sleeves and balcony interfaces. Identify the floor and the rooms beneath so the footage remains understandable once ceilings and finishes hide the construction.
Keep alongside your recording: Structural and service drawings, plus the required pre-pour inspection record.
32Completed upper floor and balcony structure
Once the site team releases the area for access.
Record the new level, openings and visible balcony structure before partitions, screeds and waterproofing alter the surface. View accessible undersides from below where they are part of the safe route.
Keep alongside your recording: The team’s floor completion records and any recorded changes.
33Stair structure and balustrade fixing provisions
Before finishes conceal the structure or fixing locations.
Capture the stair arrangement and visible support or fixing provisions from protected areas. A later visit can show the completed treads and rails; this earlier stage preserves the underlying arrangement.
Keep alongside your recording: Stair and balustrade details and the responsible installer’s records.
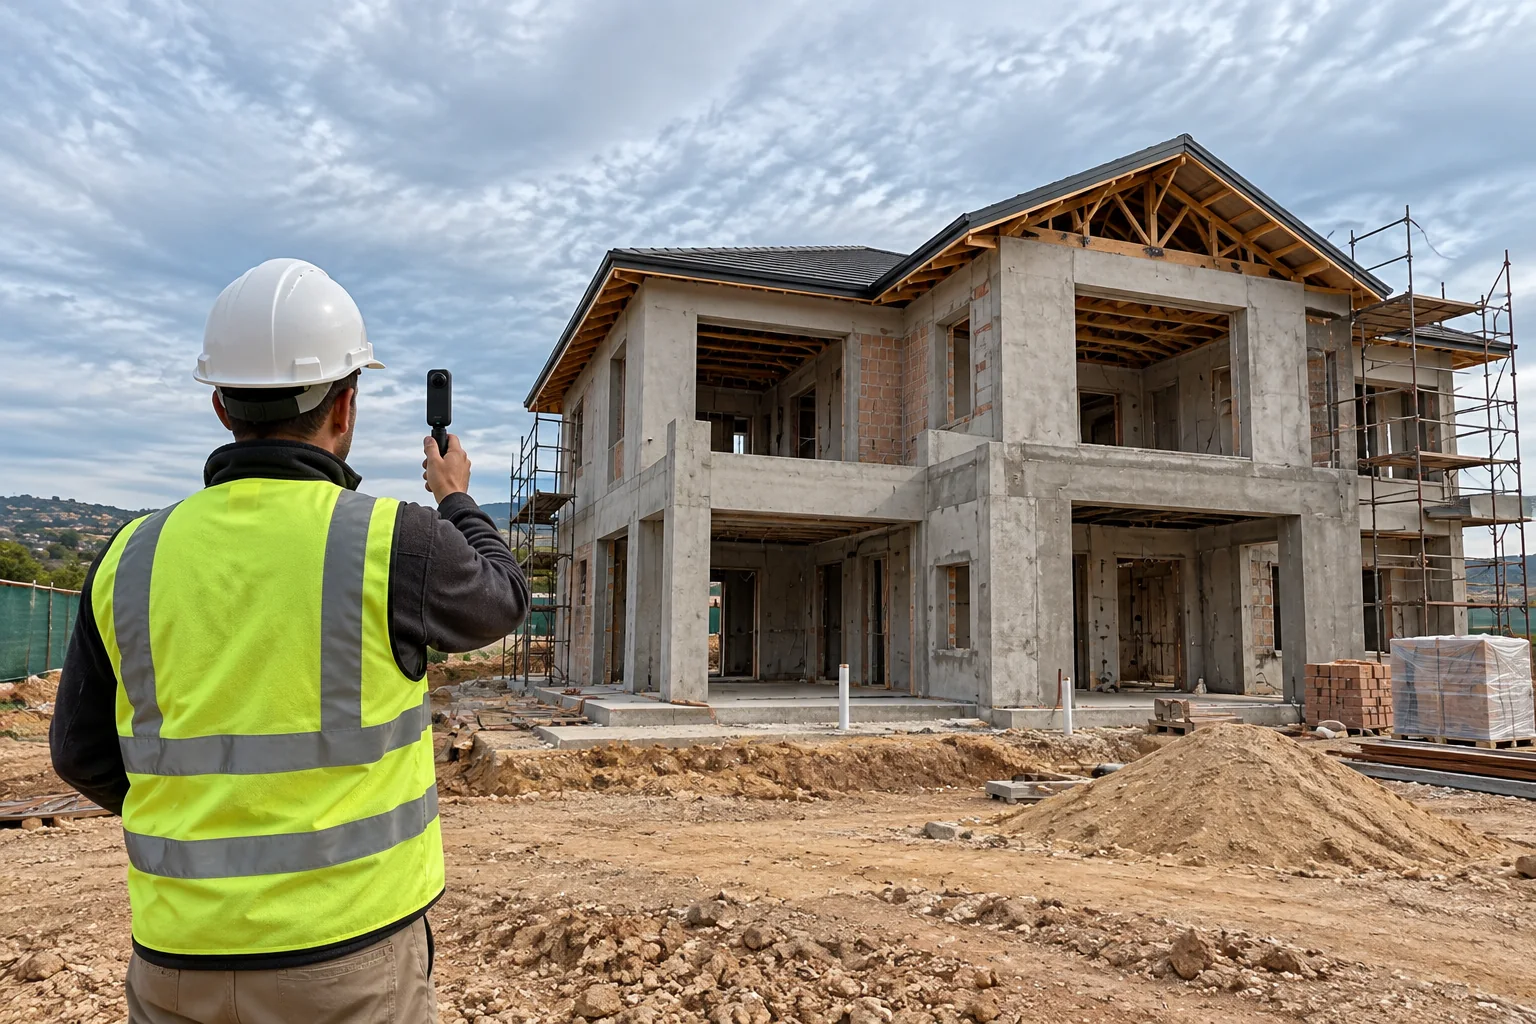
7. Roof structure and covering
Framing, membranes, covering and water-shedding details are different layers. Record from safe ground or approved internal viewpoints; roof access is never assumed.
Back to all stages34Roof supports, wall plates and anchorage
Before roof construction hides the supporting junctions.
Record visible wall-top supports, plates and anchorage positions from the agreed route. Relate each view to the house elevation or room below so the junction can be found in later conversations.
Keep alongside your recording: Roof and structural details and the team’s inspection records.
35Trusses, rafters, bracing and connections
While the roof frame is visible and access is permitted.
Show the overall roof geometry and accessible framing connections. Some views may only be available from below. The recording does not assess stability or replace the roof specialist’s inspection.
Keep alongside your recording: The roof layout, fabrication information and erection or completion documentation.
36Underlay, battens, decking and insulation
Before the roof covering hides the relevant layers.
Capture the visible layers belonging to the specified roof system. Different roofs use different assemblies; some insulation is installed later above the ceiling and needs a separate recording window.
Keep alongside your recording: The specified roof build-up and manufacturer’s installation information.
37Tiles, sheeting or other roof covering
During an accessible stage and again when complete.
Record the changing roof outline and the finished covering from safe viewpoints. Wide views establish the overall condition; small fixings or concealed overlaps may not be distinguishable in a 360° recording.
Keep alongside your recording: The product schedule and roofing contractor’s completion records.
38Flashings, valleys, ridges and roof penetrations
While the relevant interfaces remain visible.
Record accessible junctions at walls, chimneys, rooflights and service penetrations. These details can be covered by later work, so ask the roofer which useful views are possible without going onto the roof.
Keep alongside your recording: The roof-detail drawings and the installer’s own close-up photographs.
39Fascias, soffits, gutters and downpipes
Before enclosure where useful, then after installation.
Show roof edges, finished rainwater goods and the visible route from downpipes toward drainage. Keep the relationship to the walls and ground in frame rather than recording only isolated components.
Keep alongside your recording: The rainwater layout and the relevant installation or completion records.
8. Windows, doors and the exterior shell
The home becomes enclosed in stages. Frames, concealed interfaces and finished elevations can each be worth recording before access or visibility changes.
Back to all stages40Window and external-door openings
Before frames are installed or reveals are finished.
Capture openings, adjacent walls and visible sill or threshold preparation. Include the room and elevation so a later frame or glazing query has a clear location reference.
Keep alongside your recording: The window and door schedules and the applicable detail drawings.
41Frames, fixing zones and perimeter interfaces
Before trims, plaster or cladding hide the perimeter.
Record the accessible frame-to-wall interfaces and visible sealing or flashing work. Exact fixing and weatherproofing requirements depend on the system; the installer’s records remain necessary for concealed details.
Keep alongside your recording: The frame installation details and the installer’s photographs or records.
42Glazing, external doors and weather closure
When installed and ready to be viewed safely.
Show completed glazing and doors, their room positions and visible surface condition. Protective films and coverings may limit what can be seen; arrange a later view if the finished appearance matters.
Keep alongside your recording: Glazing and door specifications, delivery records and relevant compliance documents.
43External plaster, cladding and concealed supports
Before concealed supports are covered, then at completion.
Record exposed support or cavity work for the chosen facade and the finished surface later. A single final elevation cannot show the earlier layers behind render, boards or other cladding.
Keep alongside your recording: Facade details, product schedules and specialist installation records.
44Sills, thresholds, movement joints and exterior seals
While the relevant junctions are visible.
Capture accessible transitions around openings, changes of material and exterior joints. Use an overall view to locate the detail. The recording cannot establish whether a seal or joint will perform as intended.
Keep alongside your recording: The specified junction details and the responsible trade’s records.
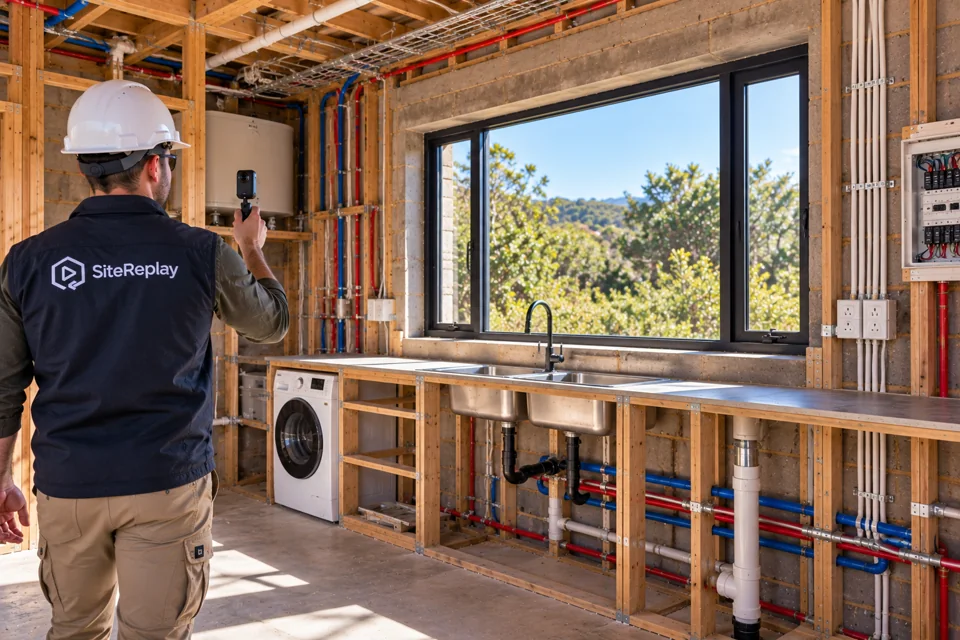
9. First-fix services
First fix means the routes and concealed components installed before finishes. Wall services, ceiling services and services below floors are often ready on different days.
Back to all stages45Water-supply routes and concealed plumbing
Before pipework is plastered over, boxed in or enclosed.
Record visible hot- and cold-water routes, branches, valve positions and pipe entries to rooms. Keep wall and room context. A recording is not an accurate drilling map or a substitute for service detection.
Keep alongside your recording: Measured plumbing layouts and pressure-test records from the responsible trade.
46Waste, soil and vent pipework
Before floors, shafts or boxing hide the routes.
Show accessible branch connections, vertical stacks and transitions between levels. The visible arrangement may help explain a later question, but video does not establish pipe falls, airtightness or system performance.
Keep alongside your recording: Drainage drawings, trade test records and any as-built changes.
47Electrical conduits, boxes and distribution routes
Before wall chases and ceiling spaces are closed.
Record the positions of visible conduits, switch and socket boxes and routes toward distribution boards. Only authorised trades handle or open electrical equipment; filming does not test or certify an installation.
Keep alongside your recording: Electrical layouts, circuit information and the electrician’s installation records.
48Data, Wi-Fi, TV, security and access-control cabling
Before cables and conduits disappear behind finishes.
Capture accessible routes and outlet positions for communications and security systems. Agree what sensitive security information should be recorded and who may see it. Equipment programming can happen much later.
Keep alongside your recording: The low-voltage layout, cable labels and installer handover information.
49Ventilation, extraction and air-conditioning routes
Before ceilings, shafts or bulkheads close.
Record visible ducts, refrigerant or condensate routes and planned grille positions where present. Include access points the installer identifies. A camera record does not measure airflow or confirm that drainage works.
Keep alongside your recording: The mechanical layout and the installer’s testing and commissioning records.
50Hot-water plant, solar and backup-power provisions
Before planned routes and supports are concealed.
Show accessible provisions for geysers, heat pumps, solar equipment or an inverter system, where specified. The eventual equipment installation and commissioning are later milestones; do not operate or open equipment for recording.
Keep alongside your recording: System layouts, equipment locations and the relevant specialist’s design information.
51Gas, fireplace and other specialist service routes
Where included, before enclosures hide the installation.
Record accessible routes and appliance positions agreed with the specialist. Gas work, flues and other specialist systems need their own competent installers and records; a video does not confirm their safety.
Keep alongside your recording: The applicable specialist layout, test results and completion documents.
52Coordinated pre-closure service record
When the trades are ready, before walls or ceilings close.
Make a room-by-room record of the visible services together, including changes made since an earlier visit. Ask which areas are still incomplete; ceiling closure may need a separate visit from wall closure.
Keep alongside your recording: Updated trade layouts, change instructions and the team’s pre-closure approvals.
10. Waterproofing, screeds and enclosure
Wet areas and concealed assemblies deserve their own timing conversation. Fresh products and unfinished floors must be recorded without stepping on or disturbing them.
Back to all stages53Shower and wet-room substrates
Before the waterproofing or finishing layer is applied.
Record the visible substrate, shower arrangement, drainage outlets and wall-to-floor interfaces. The surface appearance does not verify falls, moisture condition or suitability for a particular waterproofing system.
Keep alongside your recording: Wet-room details, the selected system and the installer’s preparation records.
54Wet-room waterproofing and penetrations
When viewing is permitted, before tiles conceal the work.
Capture accessible membrane surfaces and interfaces around corners, outlets and pipe penetrations. Agree the best timing with the installer; a visual record does not prove membrane thickness, continuity or watertightness.
Keep alongside your recording: Product and application records, plus any specified test results.
55Balcony, terrace and flat-roof waterproofing
Before protection, screed or finishes cover the system.
Where these areas form part of the home, record visible junctions, thresholds and outlets from a safe route. Some layers will be hidden before others are complete, making more than one recording window useful.
Keep alongside your recording: The specified build-up, installer records and relevant test documentation.
56Floor screeds, heating and concealed floor layers
Before the next layer covers the relevant work.
Record accessible floor preparation and any specified heating or insulation before enclosure, then the completed screed where useful. Keep the sequence linked to the rooms rather than assuming one whole-house completion date.
Keep alongside your recording: Floor-build-up details and installer or test records for concealed systems.
57Ceiling insulation, acoustic work and fire stopping
Before ceilings, linings or service enclosures close.
Capture visible insulation, acoustic layers and specified fire stopping around accessible penetrations. The design determines what is needed; a camera cannot verify a fire rating or inspect every hidden junction.
Keep alongside your recording: The specified assemblies and the responsible trades’ inspection records.
58Plaster, drywall, ceilings and bulkheads
Before closure where useful, then after surfaces are formed.
Record the final exposed arrangement before linings go on, followed by the completed room surfaces. Note accessible hatches and access panels. Wall plaster and ceiling closure may occur at different stages.
Keep alongside your recording: The ceiling or partition layouts and updated concealed-service information.
11. Interior finishes and joinery
As finishes go in, the underlying work becomes harder to see. Capture both useful preparation stages and the finished appearance once protection can be removed safely.
Back to all stages59Floor and wall finishes before installation
When the surface is ready for the selected finish.
Record visible preparation, room transitions and the intended extent of each finish. Substrate moisture or readiness needs the installer’s own checks; its appearance alone is not a test result.
Keep alongside your recording: Finish schedules, layout decisions and installer preparation or moisture records.
60Tiling, stone and grouted surfaces
During useful accessible stages and after completion.
Show the layout, junctions, edges and completed visible surfaces in each room. A final image cannot show the hidden adhesive bed or waterproofing beneath, so retain earlier recordings where those layers matter.
Keep alongside your recording: Tile or stone selections, layout approvals and installation records.
61Timber, vinyl, laminate and carpet flooring
Before skirtings conceal edges, then when finished.
Record the chosen finish, visible transitions and completed rooms. Protective coverings may conceal the final appearance. Discuss a later clear view without asking the team to remove protection prematurely.
Keep alongside your recording: Product details, installation information and care instructions.
62Kitchen, utility and bathroom cabinetry
Before tops and closed panels hide useful connections.
Capture cabinet locations, accessible service points and visible spaces behind or below units during installation. Return to the completed arrangement if comparing the installed result with the room layout is useful.
Keep alongside your recording: Joinery drawings, appliance requirements and recorded changes to the layout.
63Worktops, splashbacks and fitted surfaces
During accessible installation stages, then when complete.
Record the positions of sinks, appliances, joints and fitted surfaces. Include the surrounding cabinets and walls for context. The installer remains responsible for technical checks and the suitability of the work.
Keep alongside your recording: Templates or approved layouts, material selections and care information.
64Internal doors, wardrobes, trim and stair finishes
When fitted and before remaining work obscures the result.
Record doors, storage, skirtings, architraves and finished stairs room by room. Include visible junctions and the relationship to adjacent finishes so later questions refer to a specific place.
Keep alongside your recording: Door and joinery schedules and the agreed ironmongery selections.
65Painting, coatings and decorative finishes
After final coats, when access and lighting are suitable.
Capture the completed room appearance and visible changes in colour or material. Lighting and video playback affect colour; use the actual sample or product specification for exact colour decisions.
Keep alongside your recording: Paint references, approved samples and any specialist coating information.
12. Fixtures, fittings and installed systems
Second fix brings outlets, equipment and finished fittings into use. Record their positions and visible condition; the relevant trades perform the testing and certification.
Back to all stages66Sanitaryware, taps and plumbing fittings
After installation, when the rooms can be recorded.
Show basins, baths, toilets, showers and accessible valves in their completed surroundings. Record the location of access panels without opening sealed or restricted components.
Keep alongside your recording: Product information, plumbing completion records and maintenance instructions.
67Lights, switches, sockets and electrical equipment
Once installation is complete and the area is safe.
Record the visible fitting locations and closed distribution equipment. Leave covers and switches as the responsible person directs. Electrical compliance and testing remain the electrician’s responsibility.
Keep alongside your recording: Circuit schedules, equipment manuals and the applicable electrical completion documents.
68Geysers, heat pumps and hot-water equipment
After the specialist permits access to the installation.
Show accessible equipment locations, surrounding clearances as visible and the route to routine access points. Avoid entering unsafe ceiling spaces; the installer can provide detailed photographs of inaccessible work.
Keep alongside your recording: Installation, commissioning and maintenance records supplied by the installer.
69Solar, inverters and battery storage
Where included, after installation and safe handover.
Record visible equipment positions and accessible external arrangements without opening electrical enclosures. Separate the installed appearance from evidence that the system has been tested or approved.
Keep alongside your recording: The specialist’s commissioning records, manuals and applicable approvals or certificates.
70Air-conditioning, ventilation, gas and fireplaces
When installed equipment is ready for an agreed view.
Capture final unit, grille or appliance locations and identified service access. The relevant specialist demonstrates and tests operation; Site Replay’s record does not confirm performance or safe combustion.
Keep alongside your recording: Operating instructions and the specialist’s required testing or completion records.
71Security, data and smart-home equipment
At the agreed handover stage for those systems.
Record useful outlet and equipment locations only with permission. Keep alarm codes, credentials, screen contents and sensitive security details outside the recording and share access selectively.
Keep alongside your recording: Private system diagrams, installer handover information and owner-controlled credentials.
72Appliances, ironmongery and final fittings
After installation, before the final owner walkthrough.
Show fitted appliances, handles, rails, mirrors, shower screens and other visible accessories. A room-by-room sequence makes it easier to refer to a particular fitting later without treating the footage as an inventory valuation.
Keep alongside your recording: Product schedules, warranties and the agreed list of supplied items.
13. Outside the home
The immediate exterior helps complete the story. Confirm the recording boundary first: a standard visit does not include separate buildings or wider site coverage.
Back to all stages73Final service connections and external trenches
Before the relevant routes are backfilled or paved over.
Record accessible water, electrical, drainage and communication routes within the agreed area. Buried routes need measured records as well; do not rely on a wide-angle image to locate them for future excavation.
Keep alongside your recording: Connection records and measured as-built information from the relevant providers or trades.
74Stormwater, gullies and drainage arrangements
Before concealment, then once the finished surroundings are visible.
Show the accessible relationship between downpipes, channels, gullies and visible drainage components near the house. Keep concealed-stage records separate from the completed exterior view.
Keep alongside your recording: The drainage design, installer records and any applicable approvals.
75Patios, decks, steps and exterior balustrades
Before concealed supports are covered, then at completion.
Where within scope, capture accessible supporting work and the completed exterior spaces. Unprotected edges and temporary access must be resolved by the site team before a recording route is used.
Keep alongside your recording: Structural or fixing details and relevant installer completion records.
76Paving, driveways and final ground interfaces
Before the surface covers its base, then when complete.
Record the visible base preparation where included, followed by surfaces beside the home, thresholds and drainage interfaces. A recording shows appearance and context; it does not measure falls or verify compaction.
Keep alongside your recording: Paving layouts, preparation records and the project’s level information.
77Boundary works, gates and landscaping
Only where agreed within the recording scope.
A build may include boundary walls, fences, gates, irrigation and planting. Discuss which immediate-exterior views can be included; do not assume that a standard visit covers the whole plot or every landscape structure.
Keep alongside your recording: Relevant layouts, buried irrigation routes and the agreed recording boundary.
78Pools, outbuildings and other separate work
Raise the scope question before planning a recording.
Pool shells, equipment, detached garages and other separate works may have their own construction sequence. They are listed here so they are not forgotten in the overall build plan; they are not promised within Site Replay’s standard home visit.
Keep alongside your recording: The separate contractor’s dated photographs, drawings and specialist records. Separate buildings and wider site coverage are currently unavailable.
14. Completion, handover and aftercare
The final record connects the finished home to earlier stages. Keep the professional completion process and your own project documents alongside the visual history.
Back to all stages79The builder’s completion and snagging stage
When rooms are ready for a structured walkthrough.
Record the visible condition room by room and the locations of matters the project team wants to discuss. Site Replay does not create a technical snag list, determine contractual completion or assess workmanship.
Keep alongside your recording: The builder’s or appointed professional’s snagging list and agreed actions.
80Commissioning and system demonstrations
When the responsible installers arrange handover.
A recording can add context to accessible equipment locations. Keep the installers’ demonstrations, results and written instructions as the authority for operation; a filmed visit cannot replace their tests or commissioning.
Keep alongside your recording: Commissioning reports, operating manuals and service contacts.
81Completion documents and the home’s records
As the responsible parties issue the final information.
Bring together the current drawings, service routes, product details and completion records that apply to the home. This is a document milestone: ask the relevant professionals which certificates and permissions your project requires.
Keep alongside your recording: As-built drawings, warranties, applicable certificates and occupation-related documentation.
82The finished home at handover
After final cleaning and agreed completion, before occupation where practical.
Record accessible rooms, finishes, fitted items and the immediate exterior in a consistent sequence. Compare these views with earlier dated visits to understand how the completed spaces came together.
Keep alongside your recording: The agreed handover record, final item schedules and access information kept privately.
83Agreed remedial work and return visits
Before and after the particular work, if a visit is useful.
Record the visible area involved in an agreed repair or change, using comparable viewpoints. The project team decides whether the issue has been resolved; a later recording only shows what was visible on that date.
Keep alongside your recording: The reported issue, agreed work description and contractor completion records.
84Maintenance, later changes and future alterations
Before new work covers or changes the existing arrangement.
Use earlier records to discuss the area, then consider a fresh visit where the current condition matters. Keep original downloads and relevant project documents together. New work may have a different sequence from the original build.
Keep alongside your recording: Maintenance history, new drawing revisions and the dated records relevant to the change.
Turn the list into a useful visit plan.
Choose the work, then agree the date
Tell your builder which visible details you want to keep. Ask what will be concealed next, which trades must finish first and whether that work can be seen from a safe route. Use the current programme rather than fixed week numbers.
Identify the home, level and rooms. Flag changes since the previous visit and areas that will remain inaccessible. If the date moves, tell us before the recording is arranged.
Combine stages when the timing works
For example, exposed plumbing, electrical conduits and ventilation routes might be ready for one pre-closure visit. A slab pour and later wet-room waterproofing usually belong to different moments. This guide does not prescribe a number of visits.
Start wherever your build is now
You can begin partway through construction. Record what is still visible, then plan around the next change. A new visit cannot recover work that was covered earlier; use the project team’s existing records for that history.
Keep the recording scope clear
Standard visits cover one home up to 600 m², no more than two levels and its immediate exterior. We visit homes across the Garden Route; travel beyond 60 km from our base near George needs a confirmed travel price. Separate buildings and wider site coverage are not currently available.
Check the service area and property limits, see how recording and playback work, then compare plan and single-visit prices.
Further reading for your project team.
This is an original recording-planning guide. Your project’s design, specified systems and professional advice determine the construction sequence and technical requirements. The following primary references provide context for the building-work categories and system terminology used here; they do not endorse Site Replay.
- NHBRC construction training topics cover foundation work, masonry, plastering, plumbing and roof construction.
- Sika South Africa’s waterproofing systems overview distinguishes below-ground, joint and other waterproofing applications.
- Marley Roofing’s finishing and fixing resources provide product-specific roof-system information.
What will be covered next?
Tell us the stage, rooms and expected timing. We can help you plan a useful recording while the work is still visible.